Fight Planned Obsolescence with 3D Printing!
Using 3D Printing for Repairs and Product Design
Article information
- Category: Product Design
- Date: May 2026
Does anyone else get the feeling that products today don’t last anywhere near as long as they used to? I remember the halcyon days when you could buy an expensive product and expect it to last for many, many years. TVs, domestic appliances, mobiles, printers — the list goes on.
In the last 20 years or so, things have changed for the worse as the uglier side of capitalism has reared its head, often to the detriment of the consumer.
Due to greedy corporations commonly implementing planned obsolescence, many modern products are now designed with an artificially limited lifespan. Components are harder to repair or replace, or are made from cheaper, inferior-quality materials that wear out more quickly — forcing consumers to buy the same product multiple times.
Recent personal examples include an LG LCD TV that stopped working after only a couple of years, a plastic shelf and door tray in a Samsung fridge that cracked from normal use within two years, and worst of all, my Epson desktop printer, which stopped working after four years — not because it was broken, but because the manufacturer had decided I had printed enough pages!
I managed to fix the printer by resetting the print counter using downloaded software. The LCD TV was repaired with a bit of sticky tape and the help of a YouTube tutorial!
The fridge tray however, was physically broken. The plastic had cracked, it was out of warranty, and the only solution was to buy a replacement…
Not so fast!
Repairing Broken Parts with 3D Printing
If you have access to a 3D printer, why not 3D print a replacement part instead? That’s really what this article is about: using 3D printing for repairs, replacement parts, and product restoration. A 3D printer can be an incredibly useful tool for fixing household items, extending the lifespan of products, and reducing waste.
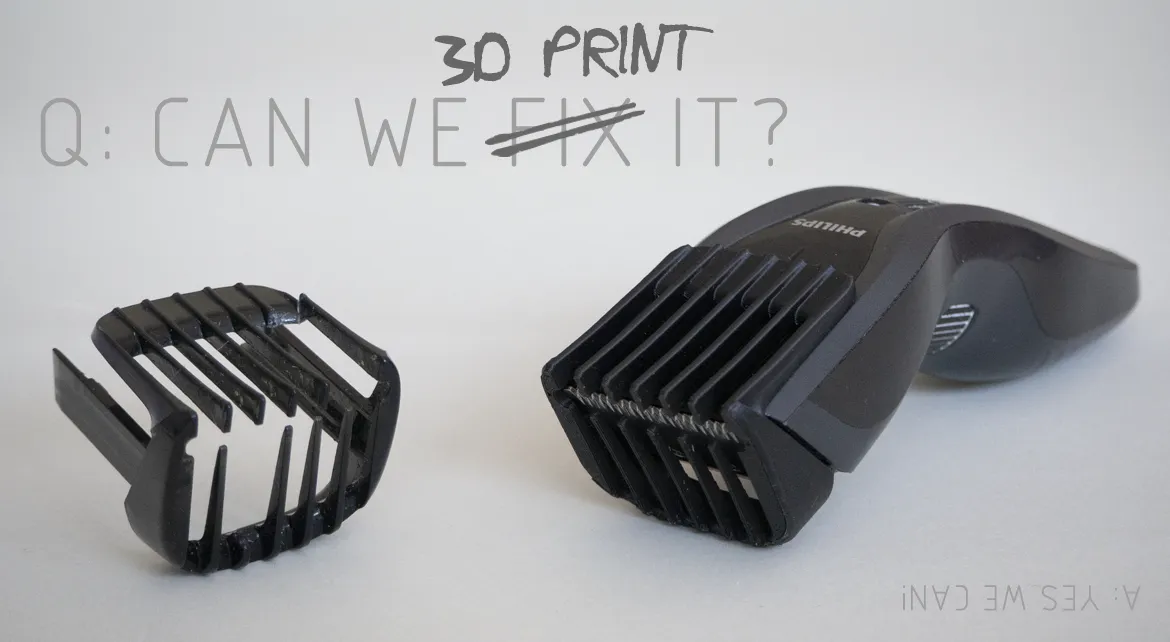
As some of the teeth had broken off the comb attachment for my hair clippers, I thought it would be a good opportunity to show how 3D printing and CAD design can be used to repair a broken part, while also walking you through the process I normally follow.
Step 1: Take Reference Photos
Start by taking photos of the broken part that will be modelled in 3D and reproduced using a 3D printer.
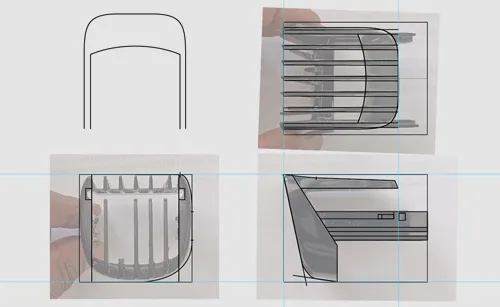
Try to make the photos as square-on and orthographic as possible (front, back, top, bottom, left, and right views), minimizing perspective distortion. You will need a minimum of two orthographic views, but ideally three or more depending on the complexity of the part.
The more reference views you have, the easier it becomes to accurately create the 3D CAD model.
Step 2: Create Reference Sketches
The photographic views are imported into Adobe Illustrator and scaled to actual size. (The easiest way to do this is to measure the length and width of the object, then draw a rectangle in Illustrator using those dimensions. The photo can then be scaled and aligned to the rectangle.) The main contours of the part are then traced. Illustrator’s tools can also be used to determine dimensions and angles within the object.
Steps 3 & 4: CAD Modelling and 3D Printing the Replacement Part
Using the dimensional information from the previous stage, the replacement part can then be modelled in a CAD programme such as FreeCAD, Fusion, or SolidWorks.
If the part needs to fit inside, outside, or attach to another component, I normally create a basic test piece first — including only the important attachment features — to evaluate whether it fits correctly. The test piece is exported as an STL file and imported into slicing software such as Orca Slicer, PrusaSlicer, or Cura before being 3D printed.
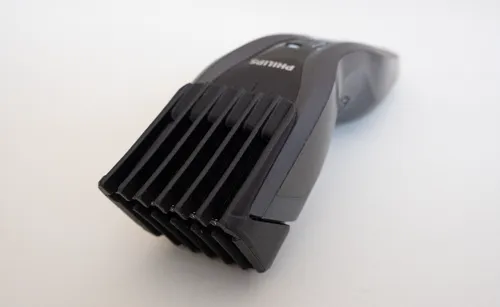
If the test piece works as intended, the remaining CAD modelling is completed. If not, the design is adjusted and tested again until everything fits correctly. This iterative prototyping process is one of the biggest strengths of 3D printing and product design.
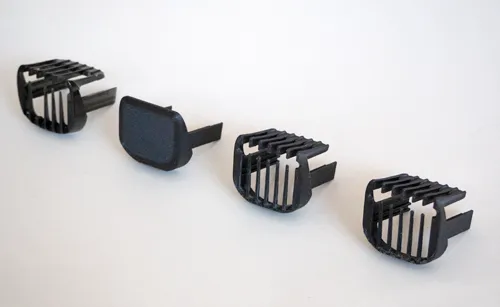
In the example shown — an attachable comb for Philips hair clippers — the whole process, from taking reference photos to CAD modelling and 3D printing the final part, took around six hours. The broken part can be seen on the far left, followed by the test piece, followed by a couple of iterations.

Why 3D Printing is Great for Product Design and Prototyping
Although 3D printing is excellent for repairs, it’s also incredibly useful for product design and rapid prototyping.
Instead of spending large amounts of money manufacturing parts traditionally, prototypes can be designed in CAD software, tested quickly, modified, and reprinted in a matter of hours. This makes 3D printing ideal for inventors, engineers, startups, and anyone developing a new product idea. The ability to rapidly prototype designs and test functional parts before manufacturing can save both time and money.
Final Thoughts
So, if you have access to a 3D printer and some 3D modelling software, the next time something breaks, instead of immediately buying a replacement, why not try 3D printing the part yourself?
Although the process can be a little time-consuming, there’s a great sense of satisfaction in repairing something yourself — while also saving money and preventing unnecessary waste.
If you don’t have a 3D printer and need a replacement part made, we can help. Check out our 3D printing, CAD modelling, product design, and rapid prototyping services.
You can either send us the 3D file to print (STL or STEP formats), or we can design the part for you from scratch. If you already have the 3D object file, the cost is based only on printing time and materials used.
Our 3D printing prices start from only 12 Euros + VAT.
If CAD modelling or product design work is required, additional design costs will apply. A free quote is provided for all projects.
Happy 3D printing repairs!

Request Your Free Quote Today
Tell us about your project and which Design Services you require. We will get back to you with more information and a quote.
Get In Touch